
Starbucks Cake Pop Recipe: 5 Easy Steps to Make at Home
Table of Contents
Introduction: Can You Really Make Starbucks Cake Pops at Home?
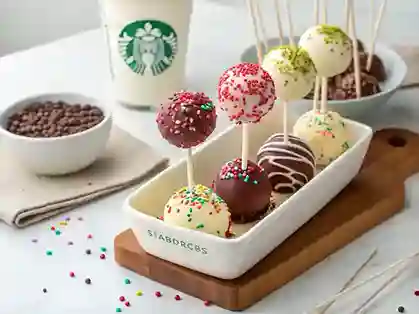
Have you ever held a Starbucks cake pop and wondered, “How do they make these so perfect?” What if I told you you could recreate that same sweet, cakey magic in your own kitchen—without fancy tools or hours of work? Spoiler: It’s easier than tying your shoes! Today, we’re unlocking the secrets to the Starbucks Cake Pop Recipe, a copycat treat that’s budget-friendly, kid-approved, and ready in just 30 minutes. Let’s dive in!
Why This Starbucks Cake Pop Recipe Is a Game-Changer
Imagine biting into a soft, moist cake center coated in smooth, shiny chocolate—exactly like the ones at Starbucks. But here’s the twist: This version costs pennies compared to store-bought, and you’ll need only 5 simple steps to make it. No mixer? No problem! This recipe is designed for beginners (yes, even if you’ve never baked a cookie). Total time? Just 30 minutes, including chilling. Difficulty level? As easy as counting to five. Whether you’re prepping for a birthday, a school bake sale, or a “just because” treat, this Starbucks Cake Pop Recipe delivers bakery-quality results without the bakery price tag.
Essential Ingredients: Simple Swaps for Success
Here’s what you’ll need to make this Starbucks Cake Pop Recipe—all found at your local grocery store:
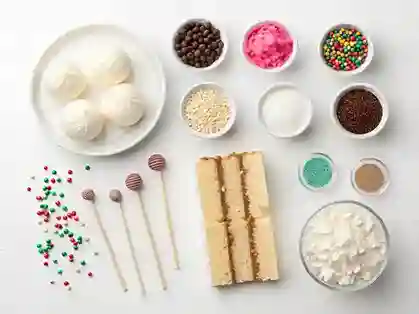
- 1 box of cake mix (vanilla or chocolate)
Why it matters: The base of your cake pops! Boxed mix ensures consistent texture. Swap it: Use homemade cake (2 cups crumbled) for a from-scratch twist. - ⅔ cup canned frosting (any flavor)
Why it matters: Binds the cake crumbs so your pops don’t crumble. Swap it: Try buttercream or even peanut butter for fun flavor twists. - 18–20 lollipop sticks
Why it matters: Holds your pops together. Tip: Dip sticks in melted candy coating before inserting to help them stick. - 24 oz candy melts (white or colored)
Why it matters: Creates that glossy Starbucks-style shell. Swap it: Melt chocolate chips with 1 tsp coconut oil for a smoother dip. - Sprinkles (optional but fun!)
Why it matters: Adds that signature Starbucks flair. Tip: Use seasonal colors for holidays!
Pro Tip: Avoid overmixing the cake-frosting blend—it should feel like playdough, not mush. Too sticky? Chill it for 10 minutes. Too dry? Add a dab more frosting.
Step-by-Step: 5 Foolproof Steps to Perfect Cake Pops
Let’s make these pops happen! Follow these steps for results that’ll make you feel like a pro.
Step 1: Bake & Crumble (5 minutes)
Bake the cake mix according to the box directions. Let it cool completely (warm cake = sticky mess!). Once cooled, crumble it into fine crumbs using your hands or a fork. Why this works: Fine crumbs mix evenly with frosting for smooth pops. Skip this: Letting the cake cool properly prevents a soggy texture.
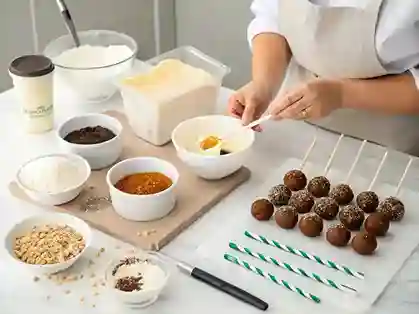
Step 2: Mix & Mold (7 minutes)
Dump the crumbs into a bowl. Add the canned frosting and mix until it sticks together when squeezed. Roll into 1-inch balls (about 18–20 total). Pro Tip: Roll balls while sitting—they’ll be smoother! Troubleshoot: If balls crumble, add more frosting; if too wet, chill the mix for 5 minutes.
Step 3: Chill & Prep Sticks (10 minutes)
Place balls on a tray and freeze for 10 minutes (this stops them from melting during dipping). While waiting, unwrap candy melts and chop into small pieces for even melting. Why this matters: Cold balls = clean dips. Skip this: Rushing this step causes cracks in the coating.
Step 4: Melt & Dip (5 minutes)
Melt candy melts in 30-second bursts in the microwave, stirring between each. Dip a lollipop stick into the melted coating, then insert it halfway into a cake ball. Hold for 10 seconds to seal. Pro Tip: Use a fork to dip balls fully—tap it gently on the bowl’s edge to remove excess coating.
Step 5: Decorate & Dry (3 minutes)
Add sprinkles immediately after dipping (the coating dries fast!). Place pops upright in a foam block or cup to dry for 15 minutes. Why this works: Sprinkles stick best to wet coating. Skip this: Waiting too long = sprinkles won’t adhere.
Bonus Tip: If coating thickens, add ½ tsp coconut oil to thin it—no more lumpy pops!
Assembly: Building Your Cake Pops Like a Pro
Now for the fun part—making them look just like Starbucks! Here’s how to assemble without stress:
- Stick Insertion: After Step 3, dip sticks into melted coating before inserting. This “glue” keeps pops from sliding off. Push sticks halfway into balls—too deep, and they’ll crack; too shallow, and they’ll fall.
- Dipping Technique: Hold the stick and swirl the pop in coating until fully covered. Lift slowly, letting excess drip off. Rotate the stick to ensure even coverage.
- Sprinkle Strategy: Work quickly! Toss sprinkles onto pops within 5 seconds of dipping. For clean lines, use a spoon to sprinkle one side only (like Starbucks’ seasonal designs).
- Drying Hack: Stick pops into a foam block (or a box filled with rice) to dry upright. No foam? Lay them flat on parchment paper—but they’ll have a flat side.
Pro Assembly Tip: If coating cracks, gently rub it with a warm finger to smooth it out. Imperfections? Hide them with extra sprinkles!
Why This Recipe Wins Every Time
This Starbucks Cake Pop Recipe isn’t just easy—it’s adaptable. Swap vanilla cake for red velvet, use mint candy melts for a holiday twist, or skip sprinkles for a minimalist look. Plus, it’s a stealthy way to use up leftover cake! Kids love rolling the balls, and adults adore the “I made this?!” pride. Store extras in an airtight container for up to a week (if they last that long!).
Ready to Wow Your Taste Buds?
You’ve just unlocked the secret to bakery-perfect cake pops—no Starbucks run required. With this Starbucks Cake Pop Recipe, you’re not just saving money; you’re creating memories (and maybe a new family tradition). So grab that cake mix, put on your apron, and let’s make some magic. Your first bite of homemade cake pop bliss is just 5 steps away. Try it today—you’ve got this!