
Matcha cookies recipe: 5 secrets for perfect green treats
Table of Contents
Engaging Introduction
Have you ever wondered why some matcha cookies taste like a slice of heaven, while others are just… meh? The secret isn’t magic—it’s all about how you use your ingredients and techniques. If you’ve been searching for the ultimate matcha cookies recipe that delivers soft, chewy, and vibrant green treats every time, you’re in the right place. Today, we’ll uncover five game-changing secrets to make your matcha cookies recipe stand out from the crowd. Ready to bake something amazing? Let’s dive in!
Overview
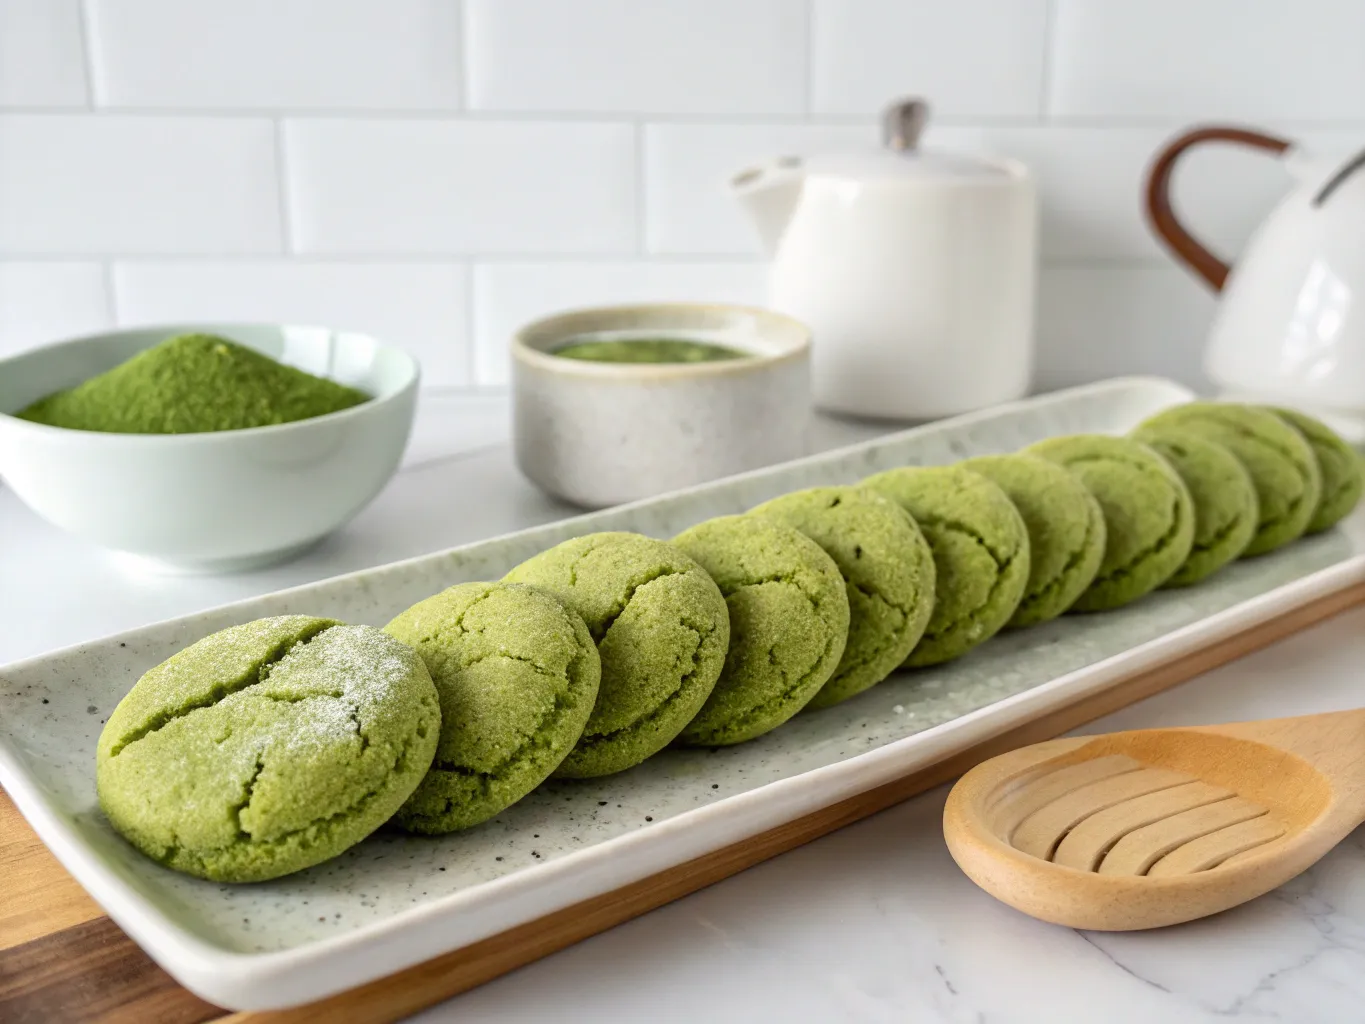
What makes this matcha cookies recipe special is its balance of simplicity and sophistication. These cookies are soft on the inside, slightly crisp on the edges, and bursting with the earthy yet sweet flavor of matcha. Best of all, they’re beginner-friendly! You can whip up a batch in under an hour—just 15 minutes of prep and 10-12 minutes per baking session. Whether you’re a seasoned baker or trying your hand at cookies for the first time, this matcha cookies recipe will guide you through every step.
Essential Ingredients
Let’s talk about the stars of this matcha cookies recipe. Each ingredient plays a crucial role in creating those perfect green treats. Here’s what you’ll need:
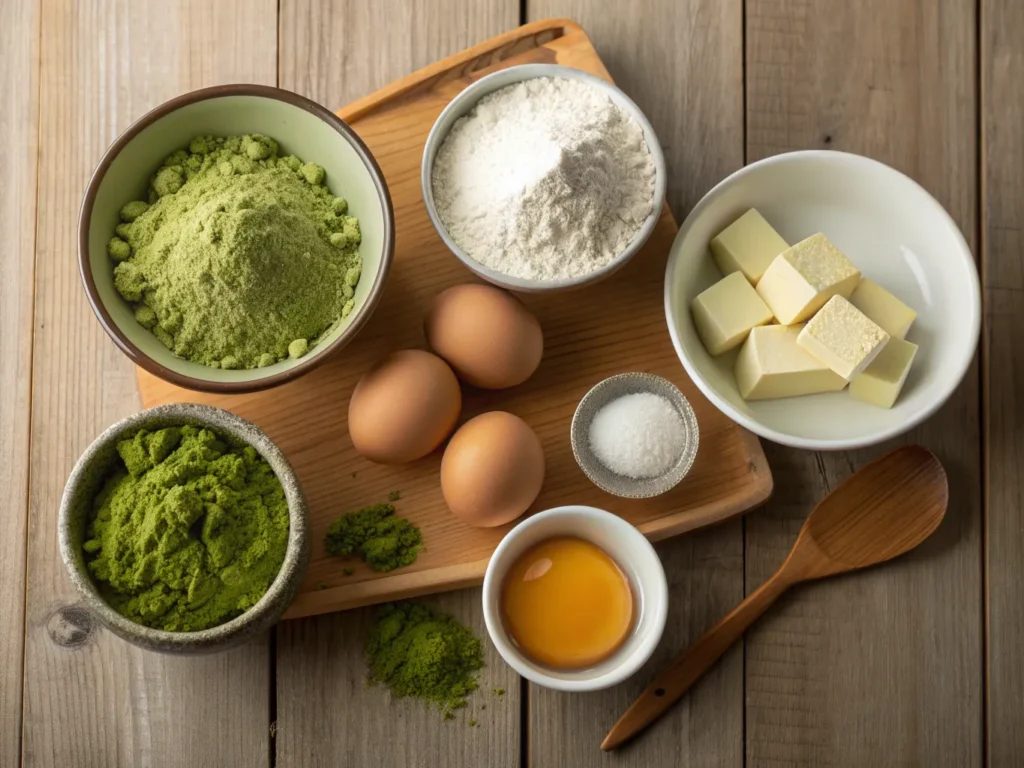
- All-Purpose Flour
- Why it matters: Provides structure and helps hold the cookie together.
- Substitutions: Gluten-free flour works well if you’re avoiding gluten.
- Matcha Powder
- Why it matters: This is the heart of the recipe! High-quality culinary-grade matcha gives your cookies their vibrant color and rich flavor.
- Tip: Avoid low-quality matcha, as it can taste bitter.
- Unsalted Butter
- Why it matters: Adds richness and contributes to the cookie’s texture.
- Substitutions: Coconut oil (solid) can work for a dairy-free option.
- Granulated Sugar & Brown Sugar
- Why it matters: Granulated sugar creates crisp edges, while brown sugar adds moisture and chewiness.
- Variations: Swap out some granulated sugar for honey or maple syrup for added depth.
- Eggs
- Why it matters: Binds everything together and adds moisture.
- Substitutions: Flax eggs (1 tbsp ground flaxseed + 2.5 tbsp water per egg) for vegan options.
- Vanilla Extract
- Why it matters: Enhances the overall flavor profile. Use pure vanilla extract for the best results.
- Baking Soda & Salt
- Why it matters: Baking soda helps the cookies rise, while salt balances the sweetness.
- White Chocolate Chips (Optional)
- Why it matters: Adds a creamy contrast to the earthy matcha flavor. Dark chocolate chips also pair beautifully.
Step-by-Step Instructions
Now comes the fun part—making your matcha cookies! Follow these steps carefully, and don’t forget to sprinkle in a little love along the way.
Step 1: Preheat Your Oven
Preheat your oven to 350°F (175°C). Line a baking sheet with parchment paper or a silicone mat to prevent sticking.
Step 2: Cream the Butter and Sugars
In a large mixing bowl, cream together softened unsalted butter, granulated sugar, and brown sugar until light and fluffy. This usually takes about 2-3 minutes with a hand mixer or stand mixer.
Tip: Make sure your butter is softened but not melted. Melted butter can make your cookies spread too much during baking.
Step 3: Add Eggs and Vanilla
Beat in one egg at a time, ensuring each egg is fully incorporated before adding the next. Stir in the vanilla extract.
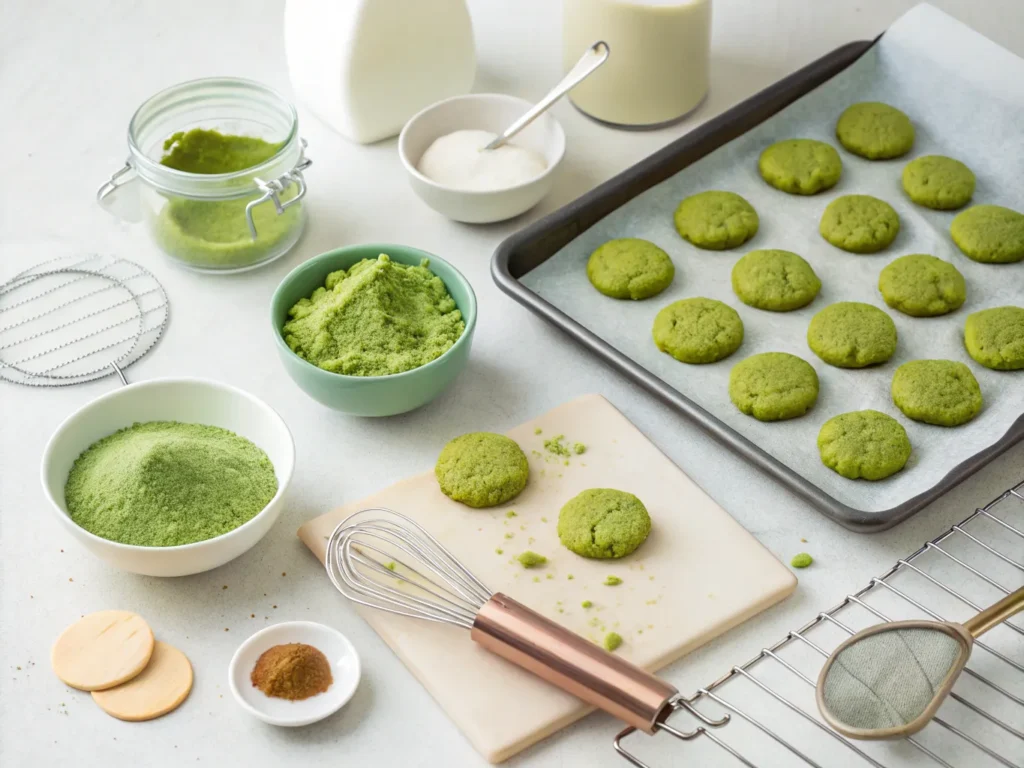
Step 4: Sift Dry Ingredients
In a separate bowl, whisk together all-purpose flour, high-quality matcha powder, baking soda, and a pinch of salt. Sifting ensures there are no lumps in your dry ingredients, which could ruin the texture of your cookies.
Step 5: Combine Wet and Dry Ingredients
Gradually add the dry ingredients to the wet mixture, mixing on low speed until just combined. Overmixing can lead to tough cookies, so stop as soon as the dough comes together.
Step 6: Fold in Optional Mix-Ins
If you’re using white chocolate chips or any other mix-ins, gently fold them into the dough with a spatula.
Step 7: Chill the Dough
This is Secret #1: Chilling the dough for at least 30 minutes makes a huge difference. It allows the flavors to meld and prevents excessive spreading during baking.
Step 8: Scoop and Shape
Use a cookie scoop or tablespoon to portion out the dough into evenly sized balls. Place them on the prepared baking sheet, leaving about 2 inches between each cookie.
Step 9: Bake to Perfection
Bake for 10-12 minutes, or until the edges are lightly golden and the centers look slightly underbaked. They’ll continue to set as they cool.
Tip: This is Secret #2: Don’t overbake! Removing the cookies when they still look slightly soft in the middle ensures they stay chewy.
Assembly Tips
Once your cookies are baked, let them cool on the baking sheet for 5 minutes before transferring them to a wire rack. Cooling them properly prevents breakage and allows the flavors to settle.
Here’s where the remaining three secrets come into play:
- Secret #3: Use High-Quality Matcha
As mentioned earlier, premium culinary-grade matcha makes a world of difference. It should have a bright green color and a smooth, slightly sweet taste. - Secret #4: Measure Accurately
Too much flour can make your cookies dense, while too little matcha powder can dull their flavor. Invest in a kitchen scale for precision. - Secret #5: Store Properly
Keep your cookies in an airtight container at room temperature for up to 5 days. If you want to freeze them, wrap them individually in plastic wrap and store them in a freezer-safe bag for up to 3 months.
Final Thoughts
There you have it—the ultimate guide to making matcha cookies that are as delightful to look at as they are to eat. With these five secrets, you’re ready to impress friends, family, or even yourself with bakery-worthy treats. So go ahead, preheat that oven, grab your ingredients, and get baking. Trust us, once you take a bite of these soft, chewy, matcha-infused cookies, you’ll never settle for ordinary again.
Happy baking! 🍪💚